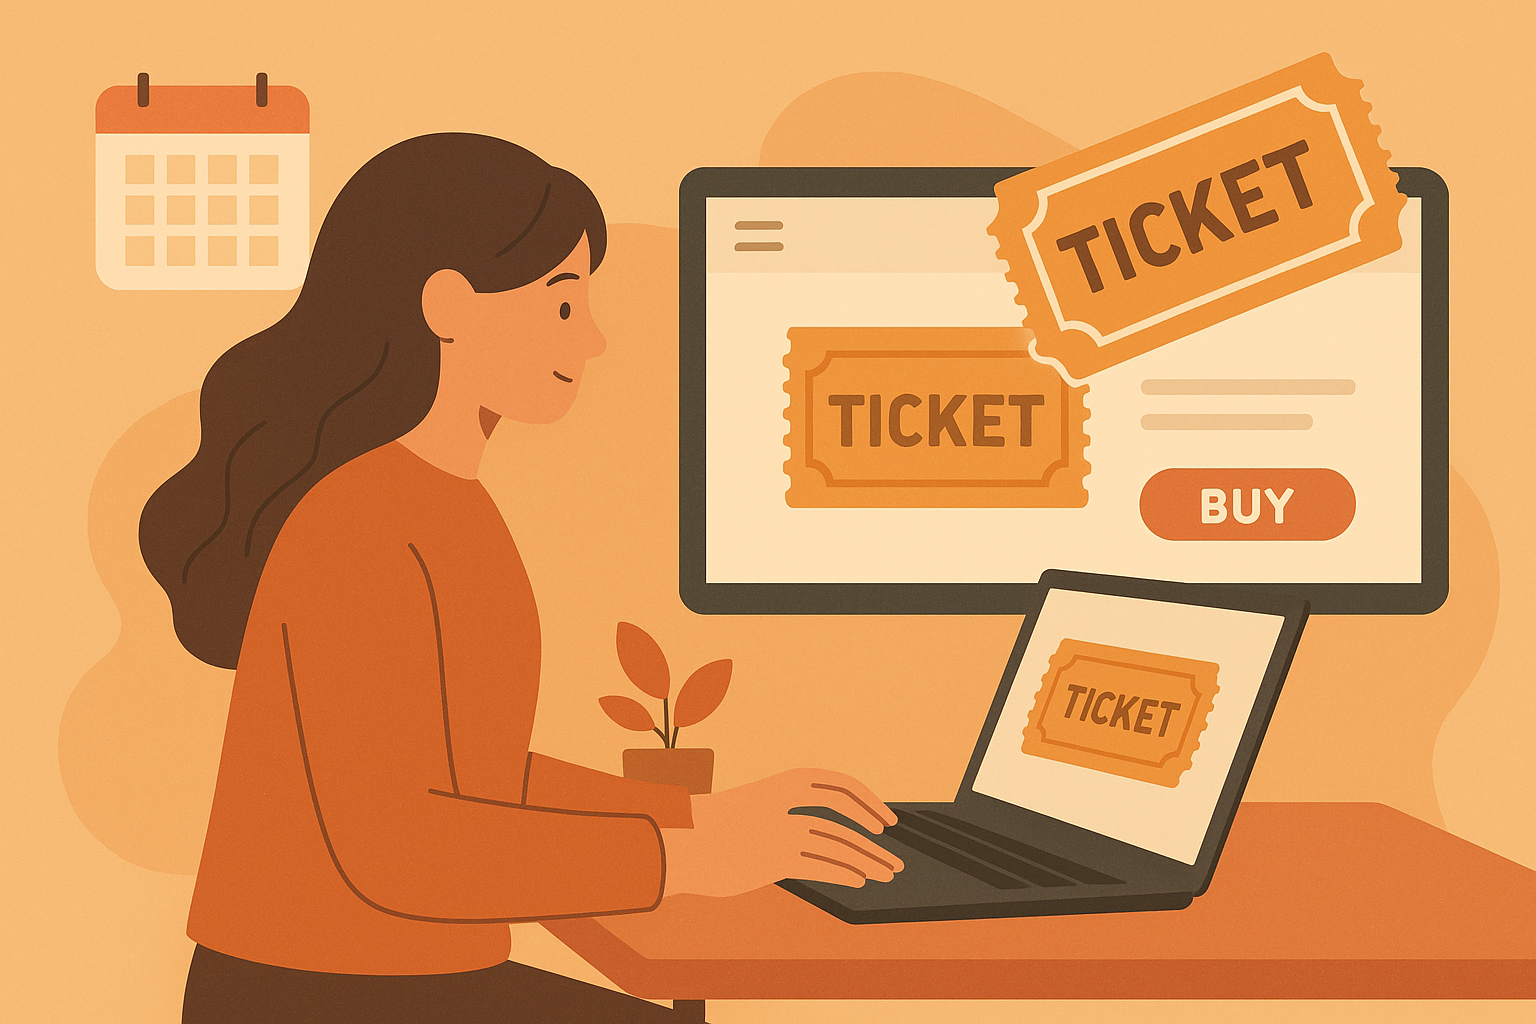
How to Sell Tickets Online: A Step-by-Step Guide for Event Organizers
-
 by
by
How to Sell Tickets Online: A Step-by-Step Guide for Event Organizers
If you need to sell tickets online, you probably want two things fast: a clean setup and your first sale. You do not need a bloated system, a long contract, or a week of training. You need a ticketing page that works, payments that clear, and check-in that does not fall apart at the door.
The good news is this is simpler than most organizers think. Below is a practical walkthrough, from picking a platform to launching your event page and getting your first buyer through checkout.
Step 1: Choose the right platform to sell tickets online
The platform matters because it affects pricing, setup time, payouts, and the buyer experience. So before you build anything, check the basics.
Look for these five things first:
- Simple pricing
- Fast setup
- Payment options that fit your event
- Mobile-friendly checkout
- Check-in tools that are easy to use
For example, SimpleTix charges $0.79 + 2% per ticket, with no contracts, no subscriptions, and no fees on free events. In addition, organizers can pass fees to attendees or absorb them.
You should also check payment support. Specifically, SimpleTix supports Stripe, Square, PayPal, and Venmo checkout, with same-day payouts. If you also sell at the door, that matters even more.
If your event has special needs, review the feature list before you commit. You can see more on the SimpleTix features page. SimpleTix supports reserved seating, promo codes, waitlists, abandoned cart recovery emails, and more.
Step 2: Set up your event page to sell tickets online fast
Once you pick a platform, build the event page before you touch marketing. Your event page should make the basics obvious right away.
Your page should answer these questions in seconds:
- What is the event?
- Who is it for?
- When does it happen?
- Where is it?
- How much does it cost?
- Why should someone buy now?
Start with a clear title. Then add a short event summary in plain English. After that, include the date, time, venue address, parking details, age rules, and refund policy.
Next, add strong visuals. One clean event image is enough to start.
Keep the description scannable. For instance, use short sections like “What’s Included,” “Schedule,” and “Important Info.” Long walls of text slow people down.
Finally, make sure the checkout feels easy. If your platform supports mobile tickets, PDF e-tickets, and Apple Wallet or Google Wallet passes, buyers get a smoother experience.
Step 3: Build the right ticket types before launch
A lot of organizers leave money on the table here. Instead of one generic ticket, create ticket types that match how people actually buy.
Here are the most common options:
General admission
This works for most events. In addition, timed entry can help you manage capacity if guests arrive in waves.
Reserved seating
Use this if seats matter. An interactive seat map can make the selection process clearer for buyers.
VIP or premium tiers
Give buyers a reason to spend more. For example, include early entry, a reserved section, or a merch bundle.
Group tickets
These help families, teams, and friend groups buy in one shot.
Season passes or memberships
These make sense for recurring events. If you run a venue, series, or attraction, they may be worth offering.
SimpleTix supports general admission, reserved seating, season tickets, and Flex Pass options for multi-use entry. You can also add custom attendee questions at checkout if you need meal choices, waiver info, or shirt sizes.
Step 4: Price your tickets with a real sales plan
To sell tickets online well, pricing needs structure. Random pricing usually leads to slow sales and last-minute panic.
Use a simple ticket ladder:
- Early bird
- Regular admission
- Last-call pricing
- VIP or premium tier
This gives your pricing a clear structure. It also gives you room to raise prices without surprising people.
Promo codes help too, but use them carefully. For instance, create codes for partners, sponsors, or past attendees instead of posting a public discount everywhere.
If your event may sell out, a waitlist is worth setting up from day one.
You can also use BOGO offers, quantity discounts, and special offers if your platform supports them.
Step 5: Connect payments and test the full checkout flow
Before you announce anything, run a full test order. Do not skip this.
At minimum, test these items:
- Ticket selection
- Promo code entry
- Payment processing
- Confirmation email
- Mobile ticket delivery
- Refund or cancellation settings
- Check-in scan at the door
If you plan to sell tickets online and in person, test both flows. That includes your box office or point-of-sale setup if you have one.
SimpleTix supports online payments through Stripe, Square, PayPal, and Venmo. In addition, it offers box office tools and works with Square hardware for in-person sales. If you want more details on platform fit, check out who SimpleTix serves.
Also, review your tax settings before launch. Specifically, make sure sales tax is configured correctly for your event and location.
Step 6: Launch with a simple marketing sequence
You do not need a huge campaign to get your first sales. However, you do need a plan.
Use this basic launch sequence:
- 6 weeks before doors open: Send your first email announcement.
- 4 weeks out: Post the event on social and send a second email.
- 2 weeks out: Share a reminder with a clear deadline or pricing change.
- 72 hours out: Send a last-call email.
- Day of event: Send final arrival details.
Keep each message short. Lead with the date, the headline, and the buy link.
SimpleTix includes email blasts to attendees, automated reminder emails, customizable email templates, and social sharing options. It also supports conversion tracking with Google and Facebook pixels, which helps if you run paid ads.
For broader event promotion tips, it helps to follow trusted guidance from platforms your audience already uses. For instance, Meta’s business help center has current ad setup resources for event campaigns: https://www.facebook.com/business/help.
Step 7: Use data tools to sell tickets online more consistently
Once sales start, do not just refresh the dashboard and hope for the best. Watch the numbers and make small moves.
Focus on these metrics:
- Page visits
- Conversion rate
- Ticket sales by type
- Abandoned carts
- Promo code usage
- Sales by channel
If traffic is high but sales are low, your event page may need work. On the other hand, if conversions are solid but traffic is low, your marketing may need work.
Abandoned cart recovery is worth paying attention to, especially if your platform supports reminder emails.
SimpleTix includes an interactive analytics dashboard, attendee reports, and abandoned cart recovery emails. As a result, you can spot weak points before they become a bigger problem.
Step 8: Prepare for check-in before the first guest arrives
Selling is only half the job. Check-in matters too.
So keep check-in simple:
- Train staff on the Organizer mobile app.
- Test offline scanning mode.
- Set staff permissions in advance.
- Print or save a guest list backup.
- Create a line plan for busy arrival times.
SimpleTix offers an Organizer mobile app for iOS and Android, plus offline scanning mode and scan-only settings for staff. That setup is useful for festivals, community events, and venues with spotty internet.
If your event is large or recurring, it can also help to review examples and guides for your event type on the SimpleTix site.
Common mistakes that stop ticket sales
Most problems are not technical. They are basic setup issues.
Here are the big ones:
- Ticket page does not explain the event clearly
- Too many ticket options create confusion
- No deadline or urgency in marketing
- Checkout was never tested on mobile
- Staff are not ready for check-in
- Buyers cannot find parking, entry, or policy details
To sell tickets online, remove friction wherever you can. In other words, every unanswered question can cost you sales.
Final thought
If you want to sell tickets online without overcomplicating it, start with a clear event page, smart ticket types, tested checkout, and a basic launch plan. If you need an affordable platform with easy setup and simple pricing, try SimpleTix.
Latest News
Related Articles
Best Eventbrite Alternatives for 2026: Lower Fees, Better Support, and More Control
-
by
Eventbrite Alternatives for 2026: Comparing SimpleTix, TicketSpice, Ticket Tailor, and TicketLeap If you’re looking for Eventbrite alternatives, you probably have a pretty specific problem: the fees feel too high, or the platform just doesn’t fit the way you actually run events. You don’t need more software for the sake of it. You need a ticketing platform that fits your event setup, works for your staff, and makes sense for your budget. This guide compares a few commonly compared options for 2026: SimpleTix, TicketSpice, Ticket Tailor, and TicketLeap. Instead of doing a feature dump, we’ll look at which type of organizer each one may fit best. What to look for in an Eventbrite alternative Before comparing platforms, get clear on what matters most for your event operation. For most organizers, it comes down to five things. 1. Fees that don’t eat your margin If you run low-cost tickets, fundraisers, seasonal events, or family attractions, fees add up fast. A platform can look fine on paper and still become expensive once volume picks up. SimpleTix keeps pricing straightforward: $0.79 + 2% per ticket, with no contracts, no subscriptions, and no fees on free events. You can also pass fees to attendees or absorb them yourself. 2. Ticketing that fits how you run events You may need more than basic GA tickets: timed entry, reserved seating, memberships, season passes, promo bundles, or waivers. That’s where differences between platforms start to show. Some are built around simpler setups. Others are better suited for venues, attractions, or recurring programs. 3. Easy check-in for staff On event day, check-in needs to be simple. Fast scanning, offline mode, and clear staff permissions can make operations smoother. 4. Tools for in-person sales If you sell at the gate, box office, or front desk, you’ll want to know whether...

Farm Ticketing Software: How to Set Up Spring Events, Season Passes, and...
-
by
Farm Ticketing Software for Spring Events, Season Passes, and Fall Admissions Spring setup gets hectic fast. School field trips, baby animal days, tulip weekends, strawberry openings, sunflower dates, pumpkin season planning, corn maze admissions — it all stacks up. If you’re looking for farm ticketing software that can handle seasonal traffic without adding complexity, SimpleTix gives you the tools farms actually need: timed entry, season passes, waivers, online and on-site sales, and same-day payouts — all for $0.79 + 2% per ticket. No contracts. No subscriptions. No fees on free events. Get started — $0.79 + 2% per ticket Built for farms that sell more than one kind of admission Most farms don’t run one simple event. You’re usually managing a mix of: Spring festivals and flower events School and homeschool visits U-pick reservations Summer camps or family activity days Fall admissions for pumpkin patches and corn mazes Photo sessions and specialty weekends Season passes for repeat local visitors That’s where basic ticketing tools start to break down. SimpleTix supports seasonal operations with timed General Admission, Season Tickets, Flex Passes, and in-person sales without juggling disconnected systems. Sell timed entry without creating bottlenecks at the gate Timed entry can help farms spread arrivals across the day. With SimpleTix, you can use General Admission with timed entry and capacity management to help: Reduce long entry lines Control parking and staffing pressure Avoid overcrowding in high-traffic areas Improve the arrival experience Keep peak weekends more manageable This matters in spring when weather windows are tight, and it matters even more in fall when everyone shows up at once. At the gate, staff can use the SimpleTix Organizer mobile app on iOS or Android to scan tickets quickly. If connectivity is spotty in the field, offline scanning mode helps keep the line moving....

Ticketing for Performing Arts Organizations: Seating, Memberships, and Presales Without Enterprise Software
-
by
Performing Arts Ticketing Software That Handles Seating, Memberships, and Presales — Without Enterprise Bloat If you run a theater, arts center, orchestra, dance company, or small venue, you need more than basic ticketing. You need reserved seating, season sales, member perks, and a box office that doesn’t turn every setup change into a support ticket. SimpleTix includes those tools at $0.79 + 2% per ticket, with no contracts or subscriptions. Get started — $0.79 + 2% per ticket Spring season launches move fast. New productions go on sale, members expect early access, and your team needs clean reporting without wrestling with enterprise software. SimpleTix is a fit for organizations that want a full ticketing setup without long-term commitment. Built for performing arts organizations, not just generic events Performing arts ticketing software has to do a few things really well: Sell reserved seats without confusion Support season tickets Manage memberships and member-only pricing Run presales and promo offers Handle online and in-person sales Give staff an easy way to scan and check in guests Keep reporting clear for development, marketing, and operations That’s where SimpleTix fits. You can sell reserved seating with interactive seat maps, offer season tickets for both general admission and reserved seating events, and manage one-time or recurring memberships with tiered levels. You can also create member-only pricing, issue complimentary tickets, and sell memberships online or at the box office. In other words: the same platform can support your single-ticket sales, subscriber workflow, and donor/member perks without forcing you into an enterprise contract. Reserved seating that’s easy for patrons and staff Seating is where many platforms start to feel heavy. Your patrons want a smooth buying experience. Your staff wants a setup they can actually manage. SimpleTix includes interactive seat maps for reserved seating events, so buyers can...